How to make cross stitch Christmas ornaments

This year I have been really into cross stitch so I wanted to use that technique to make some ornaments for my tree.

How to make cross stitch Christmas ornaments

I started out by cutting my cross stitch fabric down to 3 inch squares and then using my sewing machine to do an overlock stitch around the edge. If your machine can't do an overlock stitch, do a zigzag. I do my cross stitch in the hand. If you need to use a hoop or frame, you may want to do your cross stitch first and then cut down your fabric.

How to make cross stitch Christmas ornaments

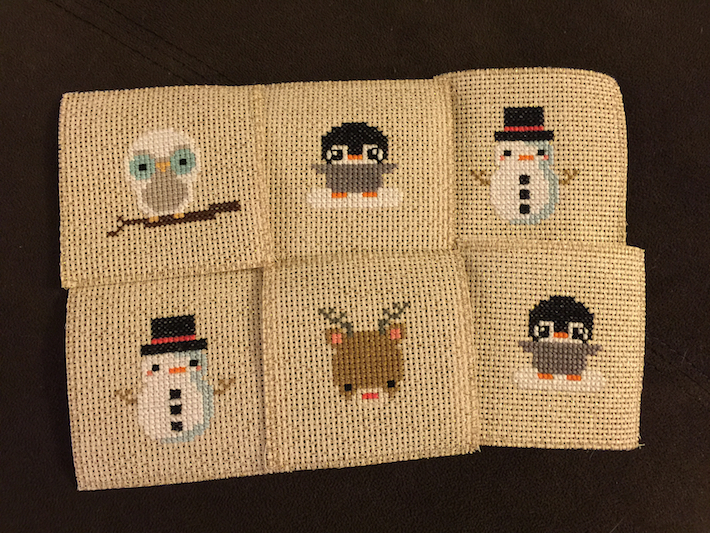
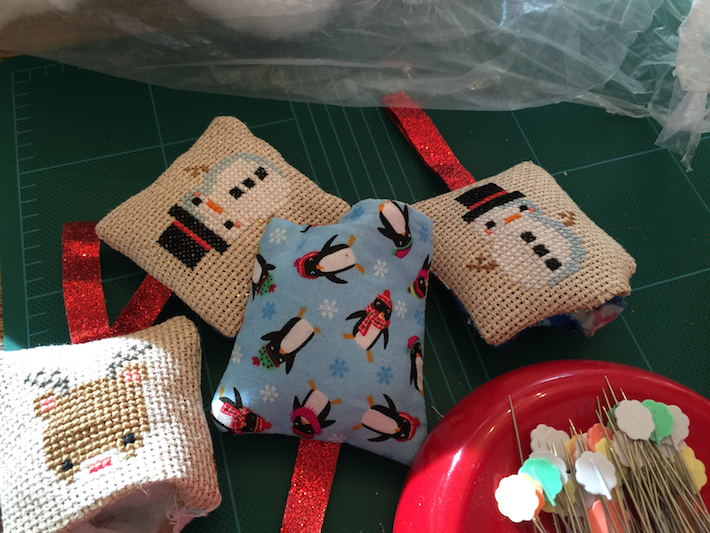
I selected some characters from The Frosted Pumpkin Stitchery's Kawaii Winter Sampler (which is now discontinued but they have other Christmas-y patterns here) and stitched them up in the center of each square. I used 3 strands of white to make those parts extra rich.

How to make cross stitch Christmas ornaments

Earlier this year, I purchased a fat quarter bundle of cute little Christmas character fabric so I selected my characters so they'd match up. Snowmen with snowmen, owls with owls, penguins with penguins, and reindeer with reindeer.

I cut out a 3 inch square of coordinating fabric to go with each cross stitch square.

How to make cross stitch Christmas ornaments

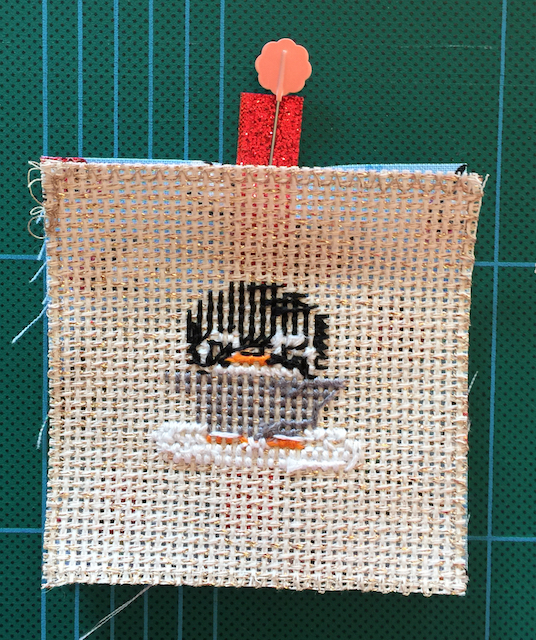
Then I cut down some red glitter ribbon to 6 inch lengths and folded those in half. I layered my pieces cotton fabric facing up, folded ribbon with the glitter side facing out, and cross stitch character face down.

How to make cross stitch Christmas ornaments

Here's my little sandwich with the ribbon pinned in place.

How to make cross stitch Christmas ornaments

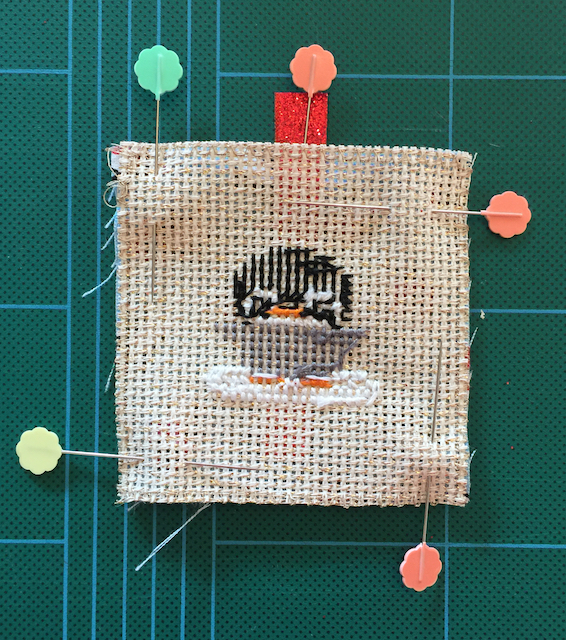
Then I pinned all around.

How to make cross stitch Christmas ornaments

Sandwiches ready to sew up.

How to make cross stitch Christmas ornaments

I sewed around the edge about 1/4 inch in. I started about half an inch from the bottom left corner and then went up the left side, across the top, down the right side, and stopped about half an inch in to the bottom right.

How to make cross stitch Christmas ornaments

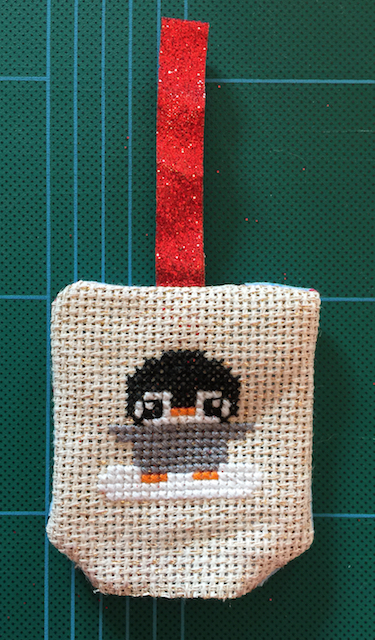
Turn your ornament right side out. The cross stitch fabric is quite stiff so I found it easiest to push the cotton through first and let the rest follow.

How to make cross stitch Christmas ornaments

Push out the corners with something pointy but not so pointy it'll poke through the fabric. I used my Clover Finger Presser.

How to make cross stitch Christmas ornaments

Front and back of the snowmen turned out.

How to make cross stitch Christmas ornaments

I stuffed my ornaments with a bit of ancient polyfill from my mom.

How to make cross stitch Christmas ornaments

Then I sewed the bottoms shut. I did the penguins by hand but then I decided that I'm not all that great at sewing by hand so I did the rest by machine.

How to make cross stitch Christmas ornaments

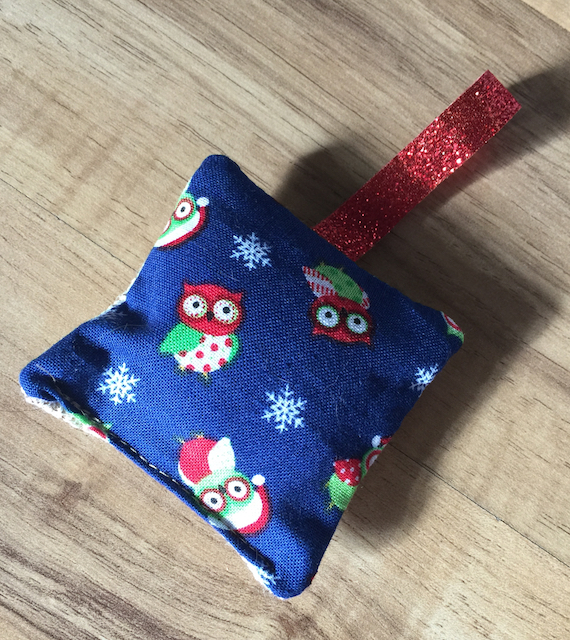
Here's the back of the owl done by machine.

How to make cross stitch Christmas ornaments

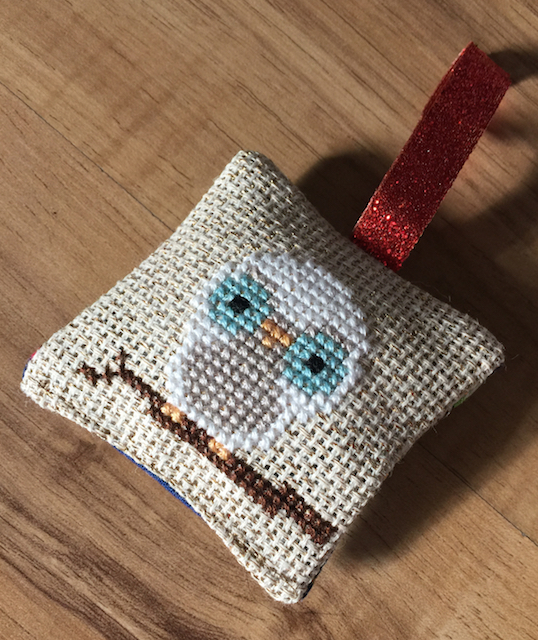
Here's the front of the owl done by machine. I used an oatmeal colored thread that's basically invisible on the cross stitch fabric I selected.

Supplies: DMC Stardust Aida cross stitch fabric, DMC embroidery floss in assorted colors, Timeless Treasures mini series cotton fabrics, red glitter ribbon from Michael's, Aurifil thread in #2325 "Linen", sewing machine, embroidery needle, polyfill, pins

How to sew a rice bag

Here's how to make a rice bag. You'll need to know how to use your sewing machine for this project. If you are not familiar with your sewing machine, I recommend a) reading the manual and b) taking an in person class at a fabric store near you. Once you get started sewing, keep sewing on a regular basis or you'll forget and have to start back at reading the manual.

If you're already familiar with your sewing machine, this is a quick and easy project. It took me 20 minutes to make a bunch of rice bags.

How to sew a rice bag Read more at: How to sew a rice bag | carrie actually

Cut your fabric to 5x5 inches. I used scraps leftover from another recent project I did but you can also buy precut 5x5 inch "charm squares". I did not prewash my fabric for this project.

How to sew a rice bag Read more at: How to sew a rice bag | carrie actually

Place two squares right sides together. Start stitching about 1 inch from the bottom right corner. Backstitch then stitch around 3 sides of your square.

How to sew a rice bag Read more at: How to sew a rice bag | carrie actually

Turn your fourth corner and then stitch 1 more inch and backstitch. You want to have about a 3 inch opening on one side of your square.

How to sew a rice bag Read more at: How to sew a rice bag | carrie actually

Turn your bag right side out and fill with half a cup of plain uncooked rice.

How to sew a rice bag Read more at: How to sew a rice bag | carrie actually

Fold the raw edges in along your 3 inch opening and pin. I like to put one pin at each end of the opening and one in the middle.

How to sew a rice bag Read more at: How to sew a rice bag | carrie actually

At this point I switch to a zipper foot on my sewing machine and move my needle to the far right position. Stitch all along the side of your square with the opening to keep it shut. Backstitch at the beginning and the end.

How to sew a rice bag Read more at: How to sew a rice bag | carrie actually

That's it. I think contrast stitching is really fun so I picked a thread that matched the mermaids tails, but I could have picked one that matched the dark blue background so it'd be almost invisible.

How to sew a rice bag Read more at: How to sew a rice bag | carrie actually

Supplies (I did not buy anything new for this project, just used what I already had from other projects but if you see something you like): Dear Stella Seaworthy Mermaid fabricAurifil Jade threadBernina 350PE sewing machineOlfa ergonomic rotary cutterOfla cutting matOmnigrid quilter's rulerGypsy GripperClover flower pins